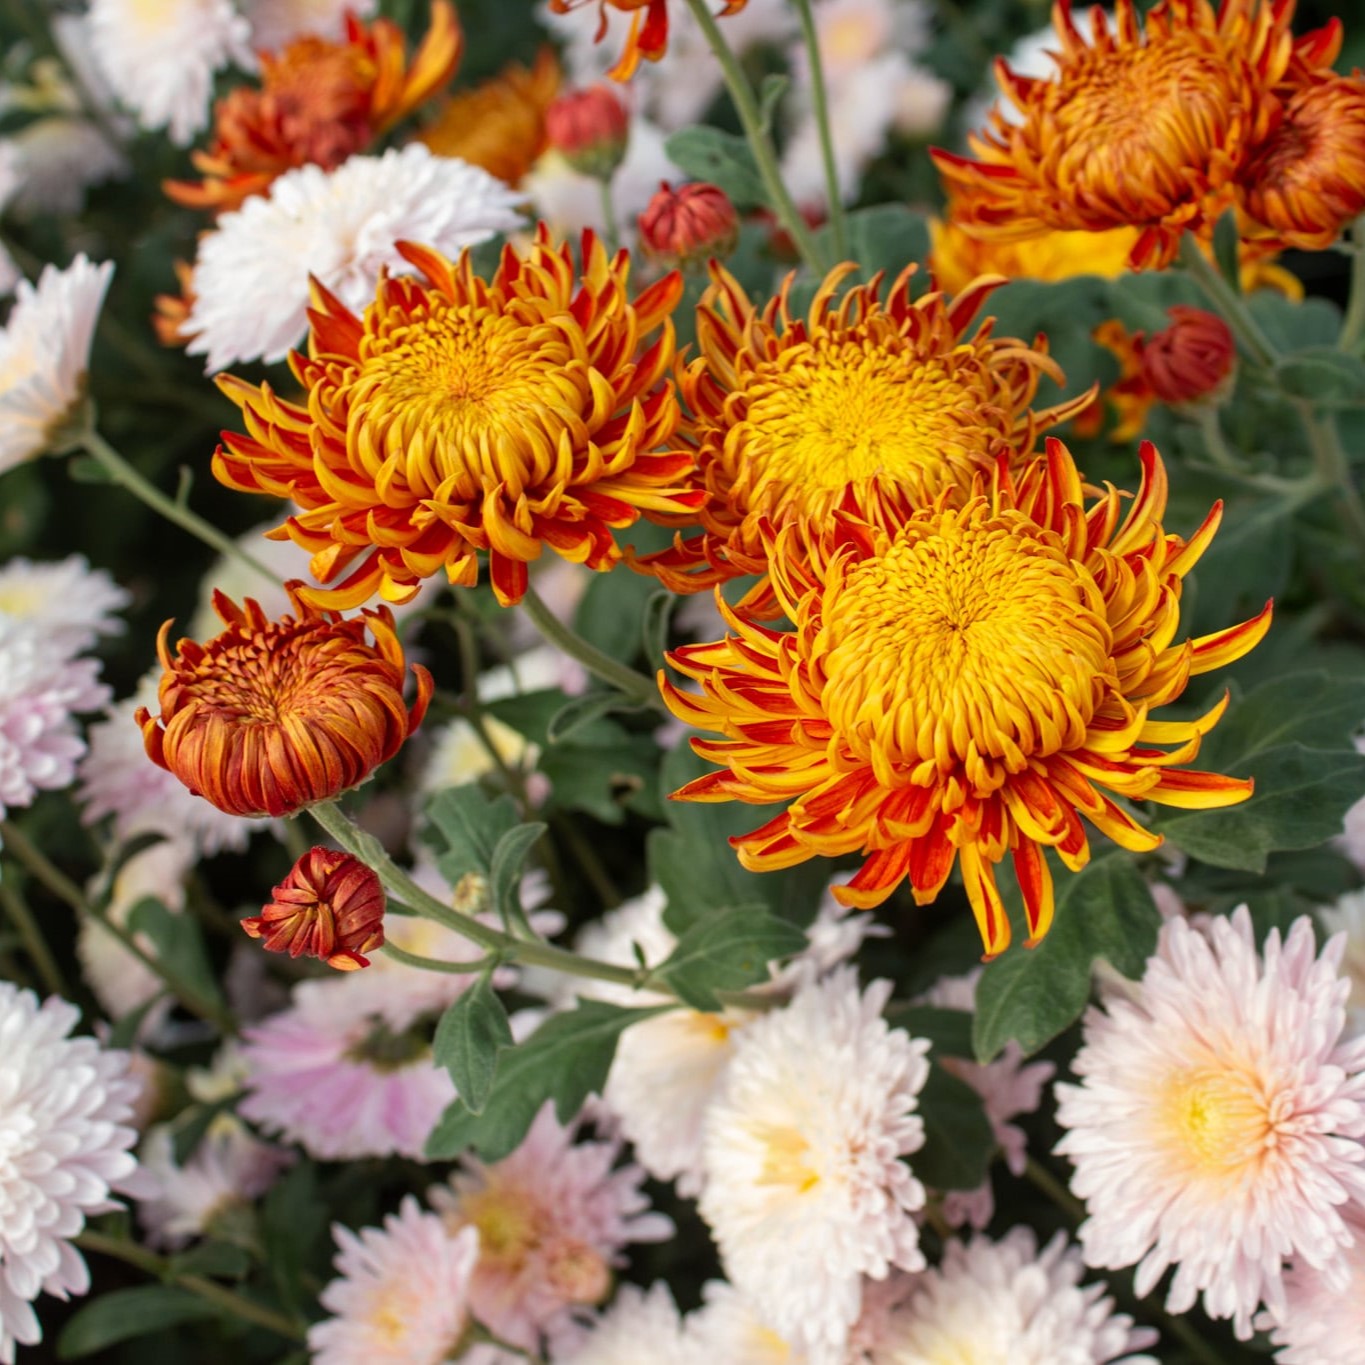
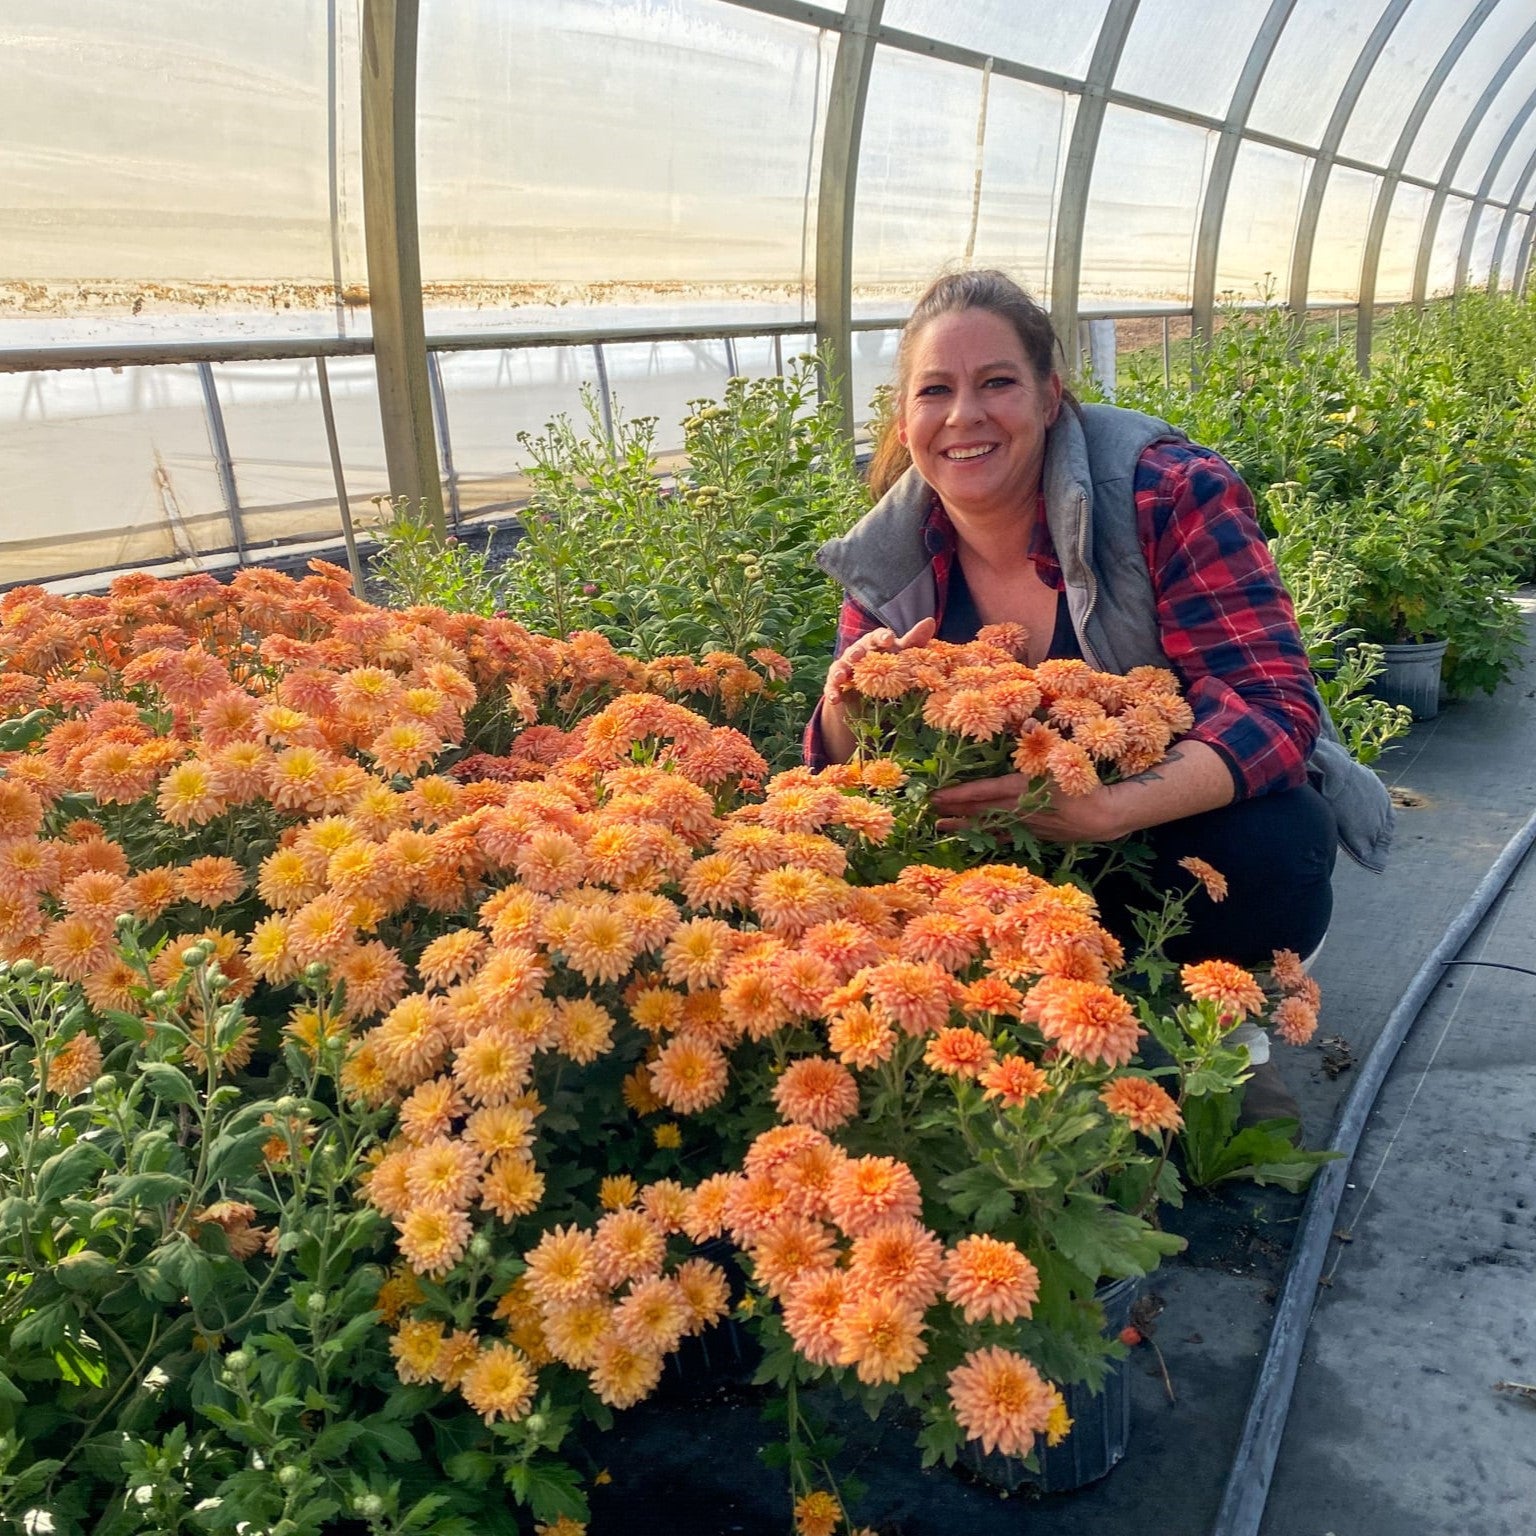
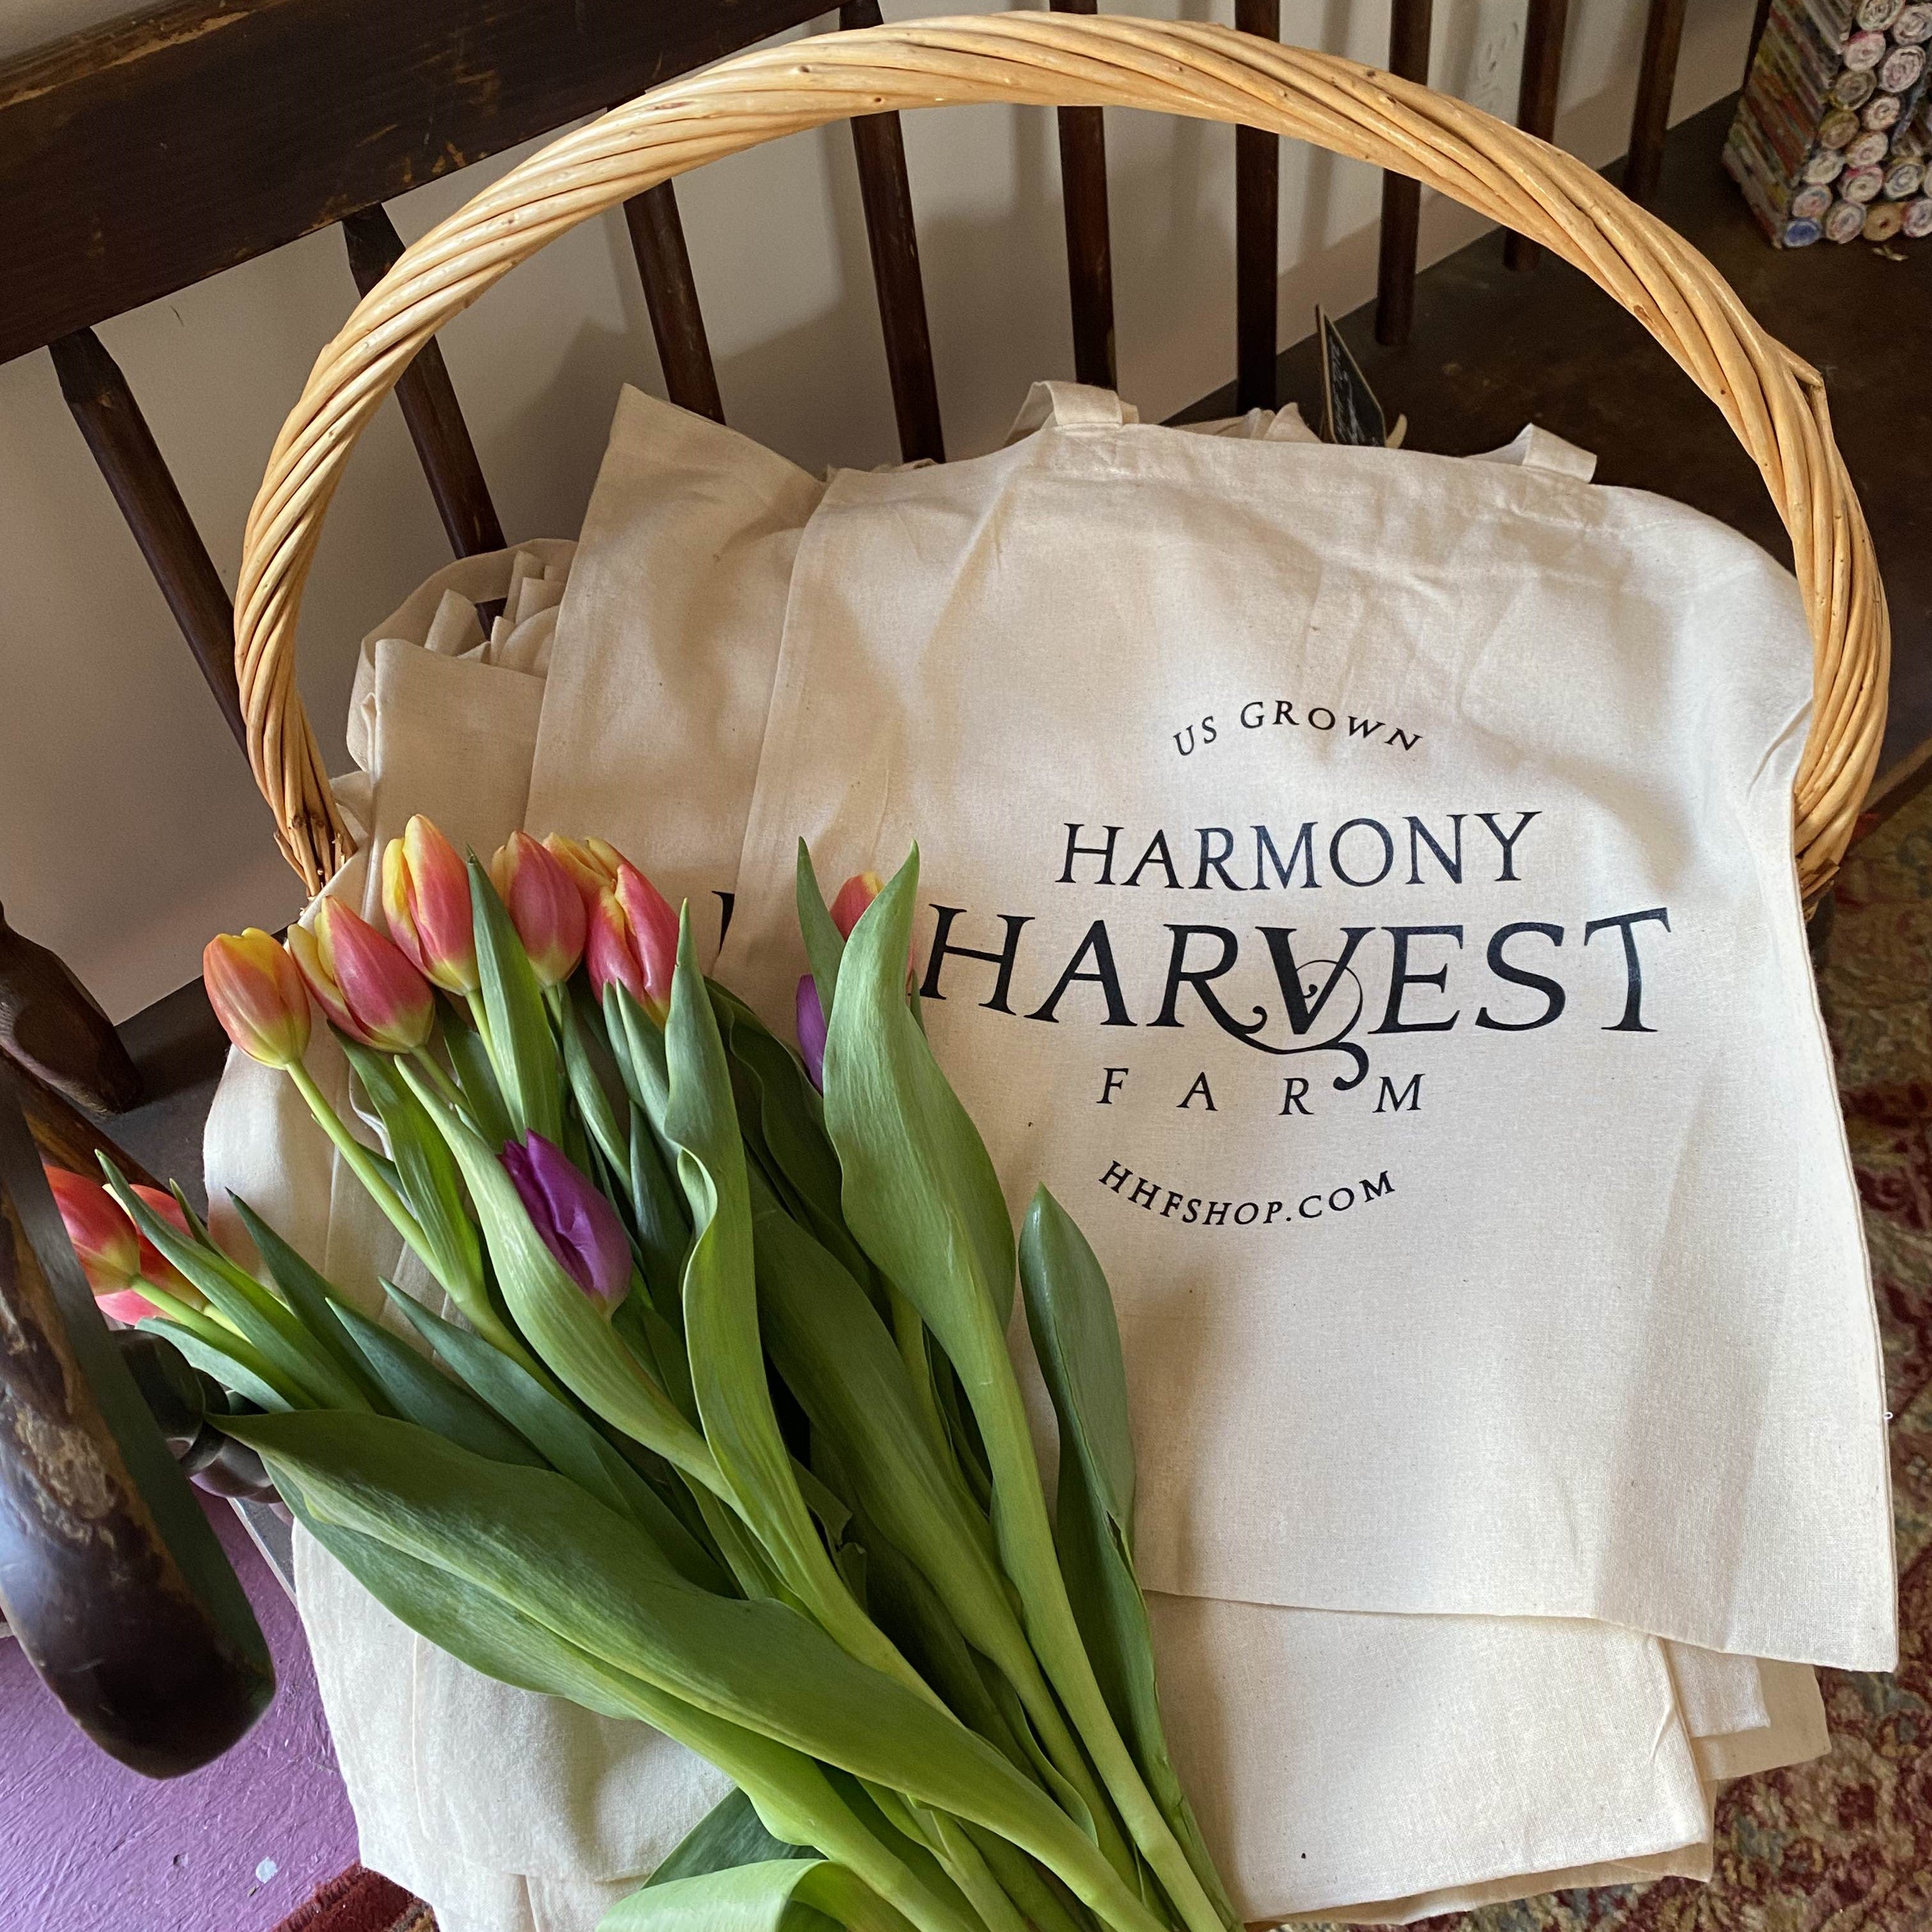
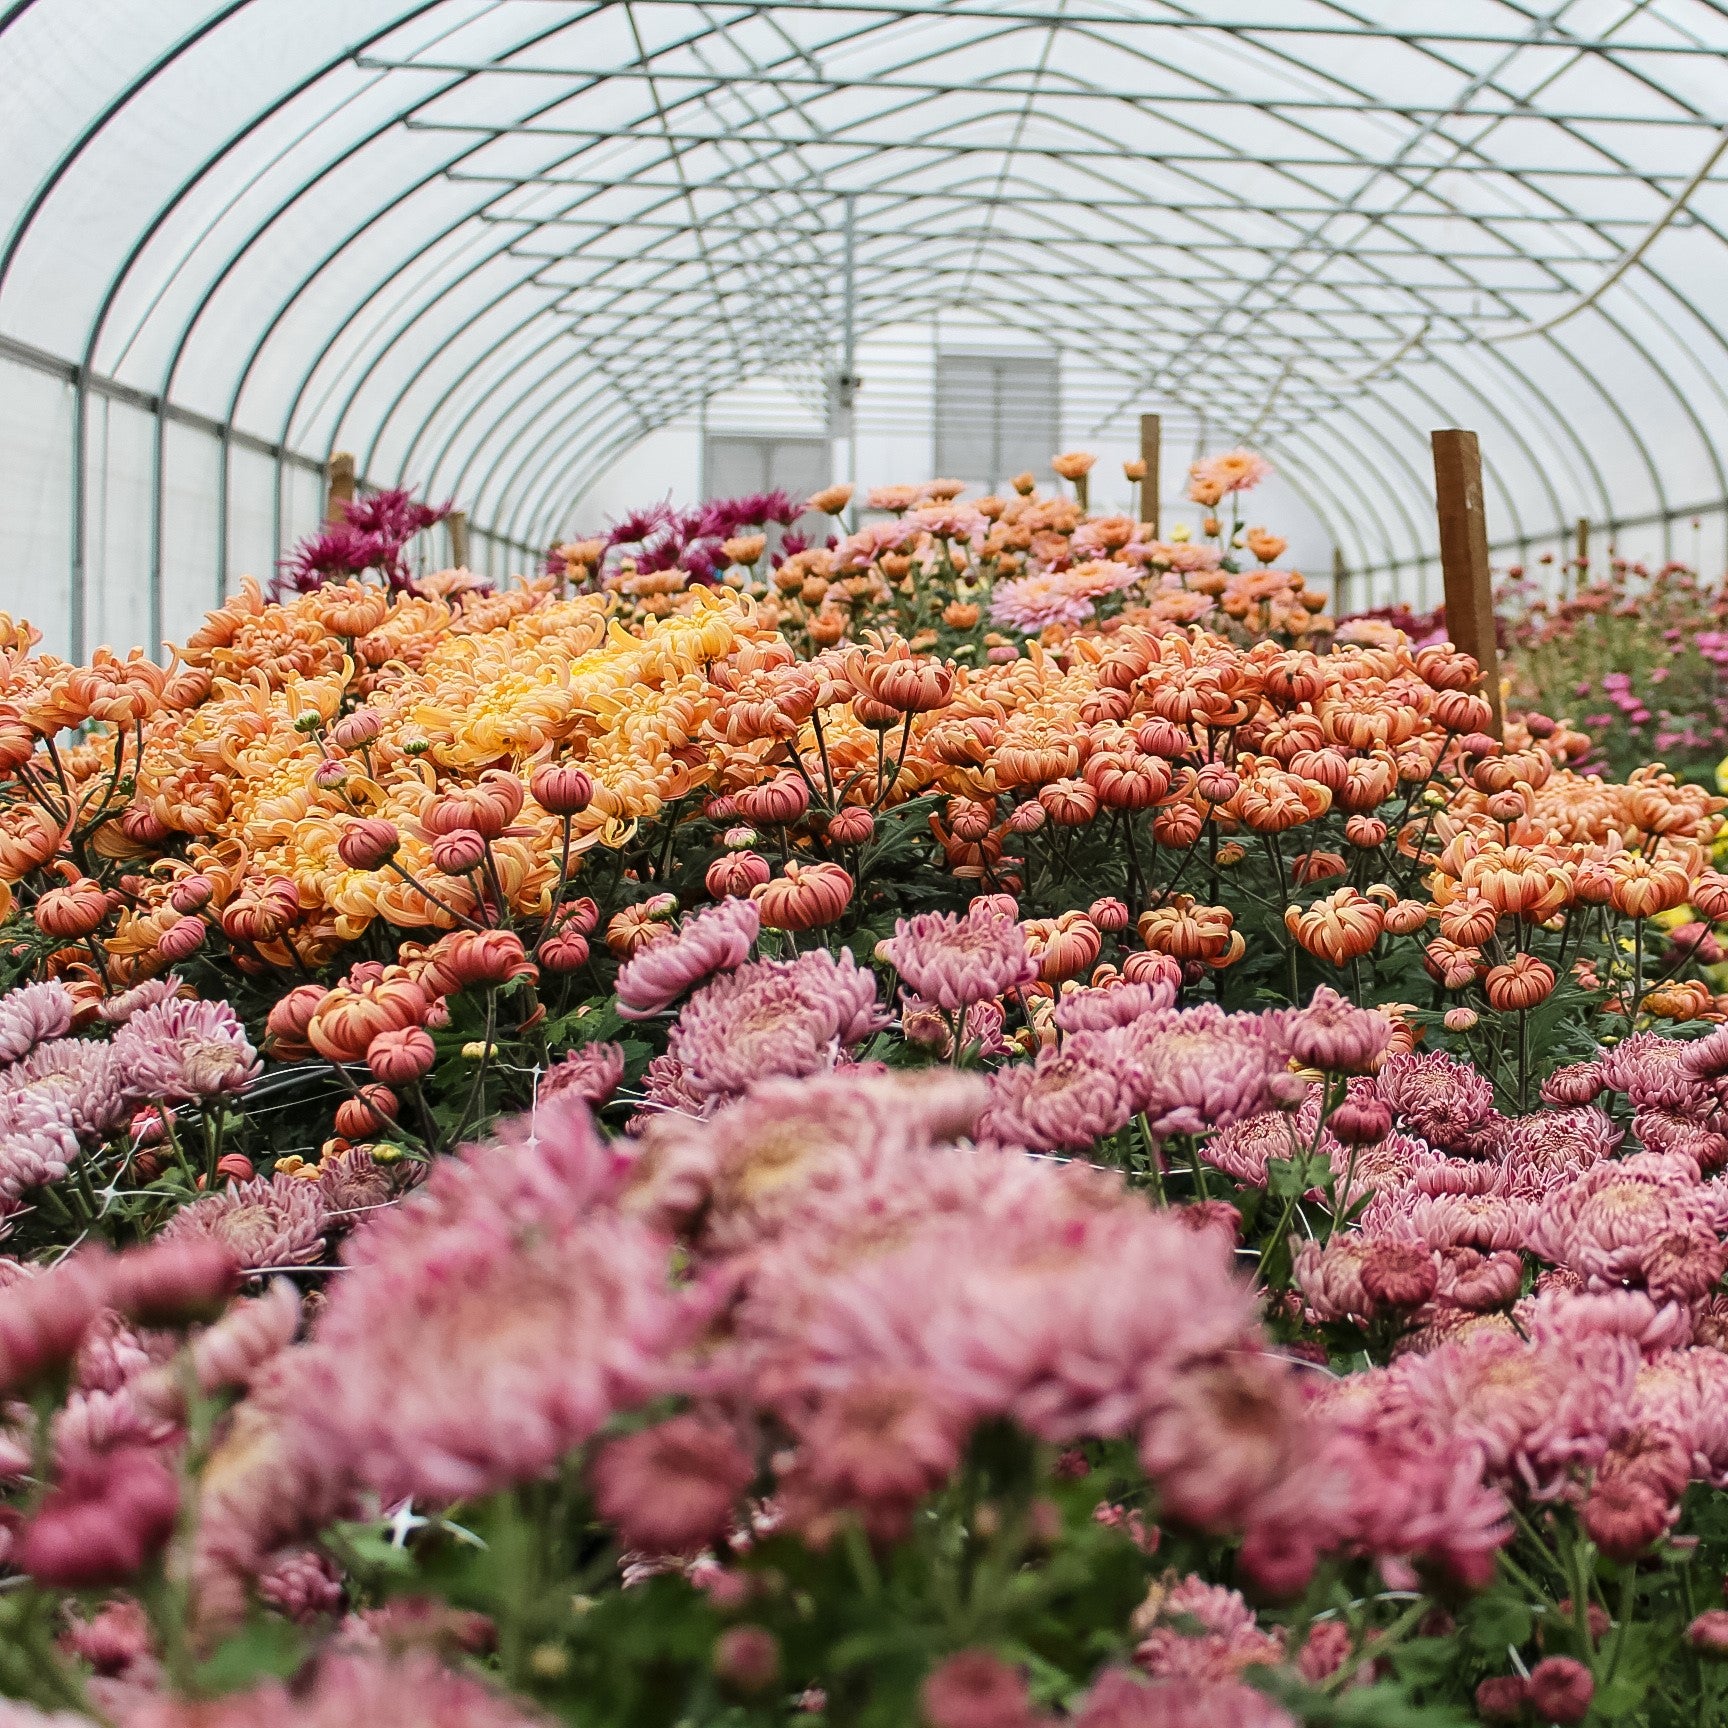
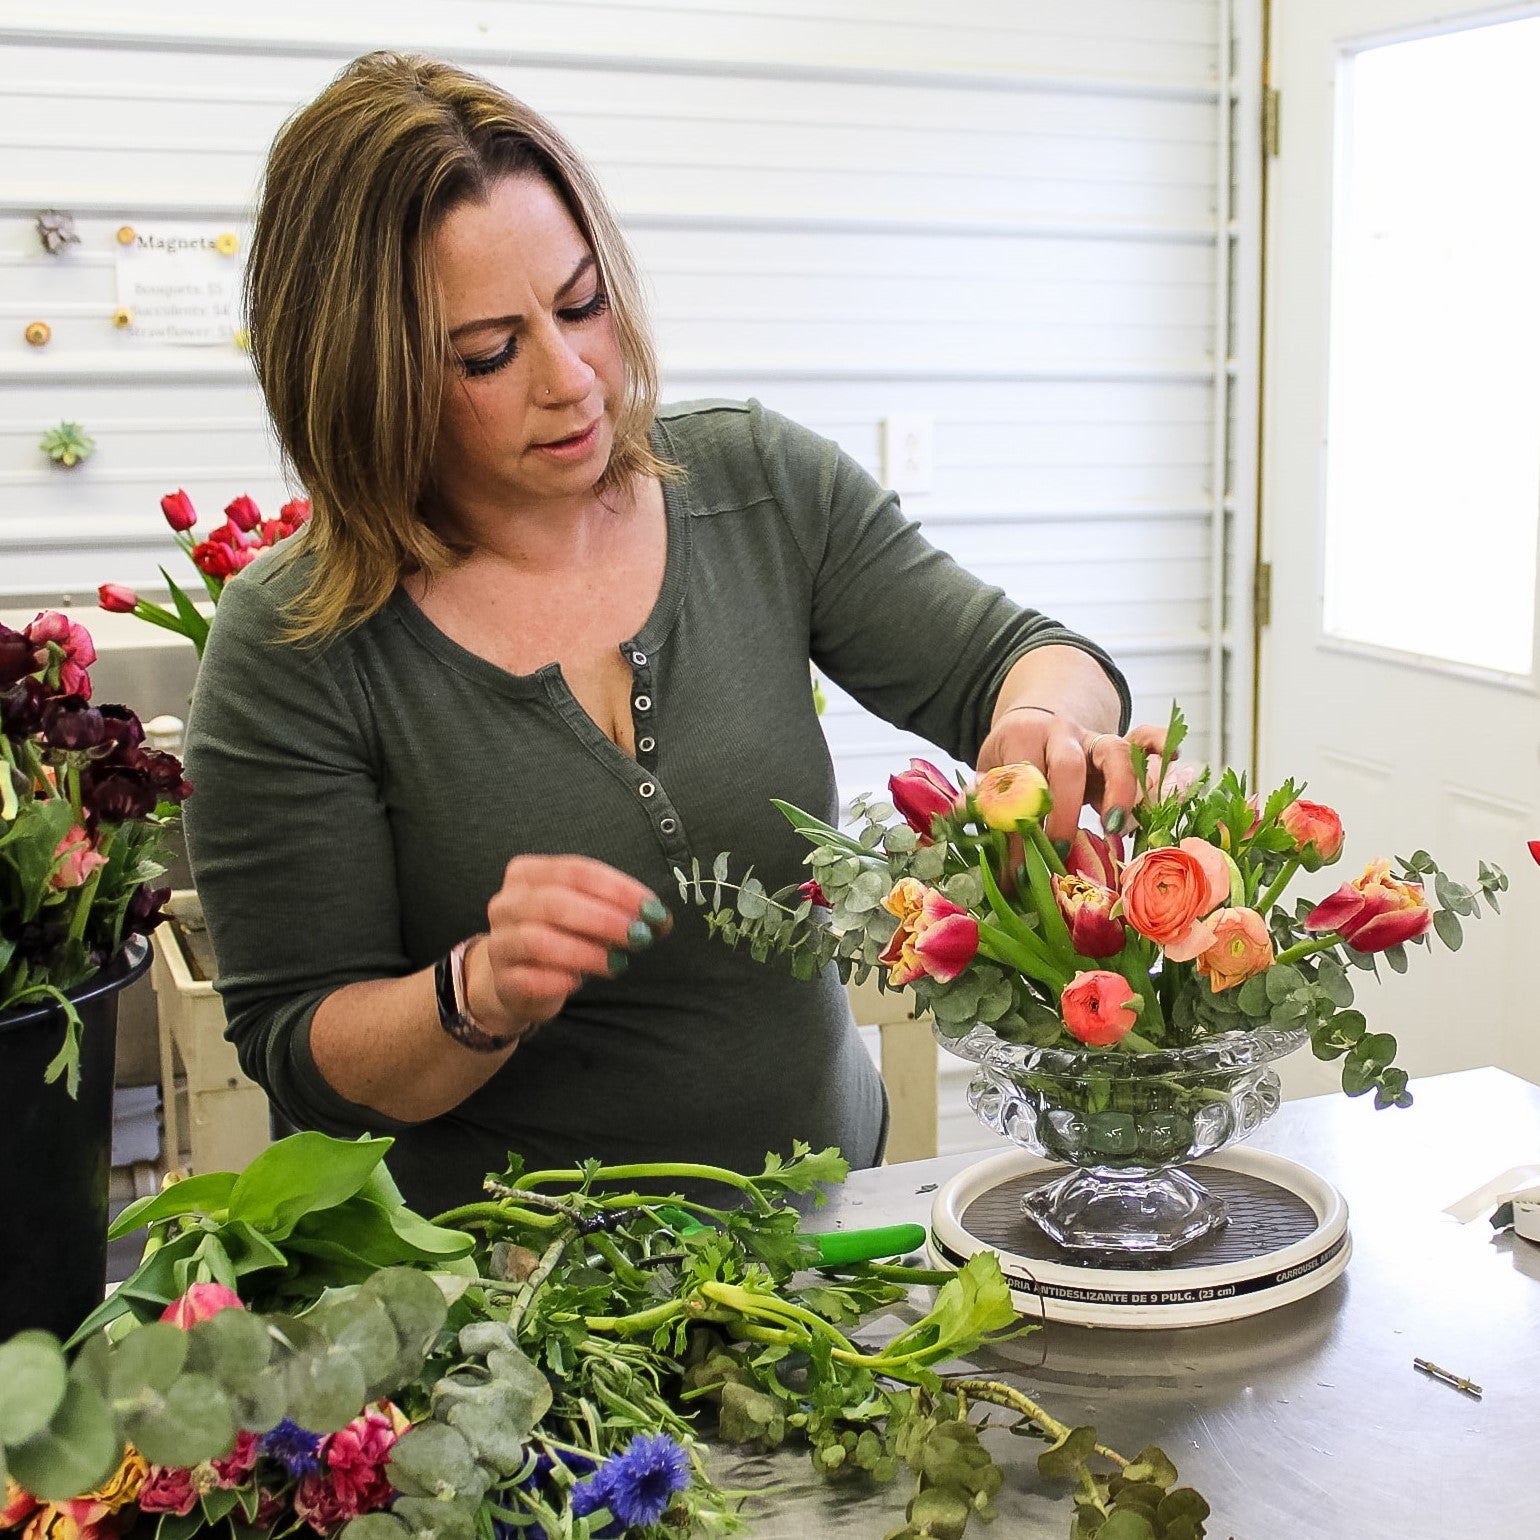
If you’ve ever dreamed of expanding your chrysanthemum patch, you’re in luck! Propagating mums from cuttings is easier than you think! At Harmony Harvest Farm, we love growing our collection of specialty chrysanthemums, and one of the best ways we build up our stock is through propagation. Today, I’ll walk you through our tried-and-true method for rooting chrysanthemum cuttings using rooting powder, a simple trick that makes a world of difference.
Why Propagate from Cuttings?
Chrysanthemums root readily from cuttings, which means you can clone your favorite varieties and ensure uniform, vigorous plants. Propagation also allows you to refresh aging plants, manage disease, and grow your collection without buying new stock.

When to Take Cuttings
The best time to take chrysanthemum cuttings is in late spring through early summer, once your stock plants have developed plenty of healthy, new growth. Look for non-flowering, vigorous shoots about 2 to 3 inches long. These will root most successfully.
Tools You’ll Need:
- Sharp, clean snips or scissors
- Rooting powder (we prefer a hormone powder like Hormex or similar)
- Small pots or plug trays filled with pre-moistened propagation mix (we use a 50/50 mix of perlite and peat or coco coir)
- A warm, bright space out of direct sunlight

-
Harmony Harvest Farm Propagation Steps:
1. Select and Cut
We start by choosing strong, non-flowering stems. Cut your stem just below a leaf node (where the leaves join the stem). Each cutting should have at least 2–3 sets of leaves. -
Prepare the Cutting
Remove the bottom leaves, leaving only the top pair. This reduces moisture loss and focuses energy on root development. -
Apply Rooting Powder
Here’s the secret sauce: lightly dip the cut end into your rooting powder. Tap off any excess. The hormone in the powder stimulates root growth and helps prevent rot. -
Plant Your Cutting
Insert the treated cutting into your propagation mix, making sure at least one node is buried below the surface. We like to tuck them in about an inch deep. -
Maintain Humidity
This is key! Keep moisture high while roots develop. Keep your cuttings in a warm, bright (but indirect) light area, around 70-75°F if possible. -
Wait and Watch
Roots usually begin forming in about 10-14 days. Keep the soil lightly moist, but not soggy. Once you see new growth, gently tug on the cutting. If it resists, roots have formed! -
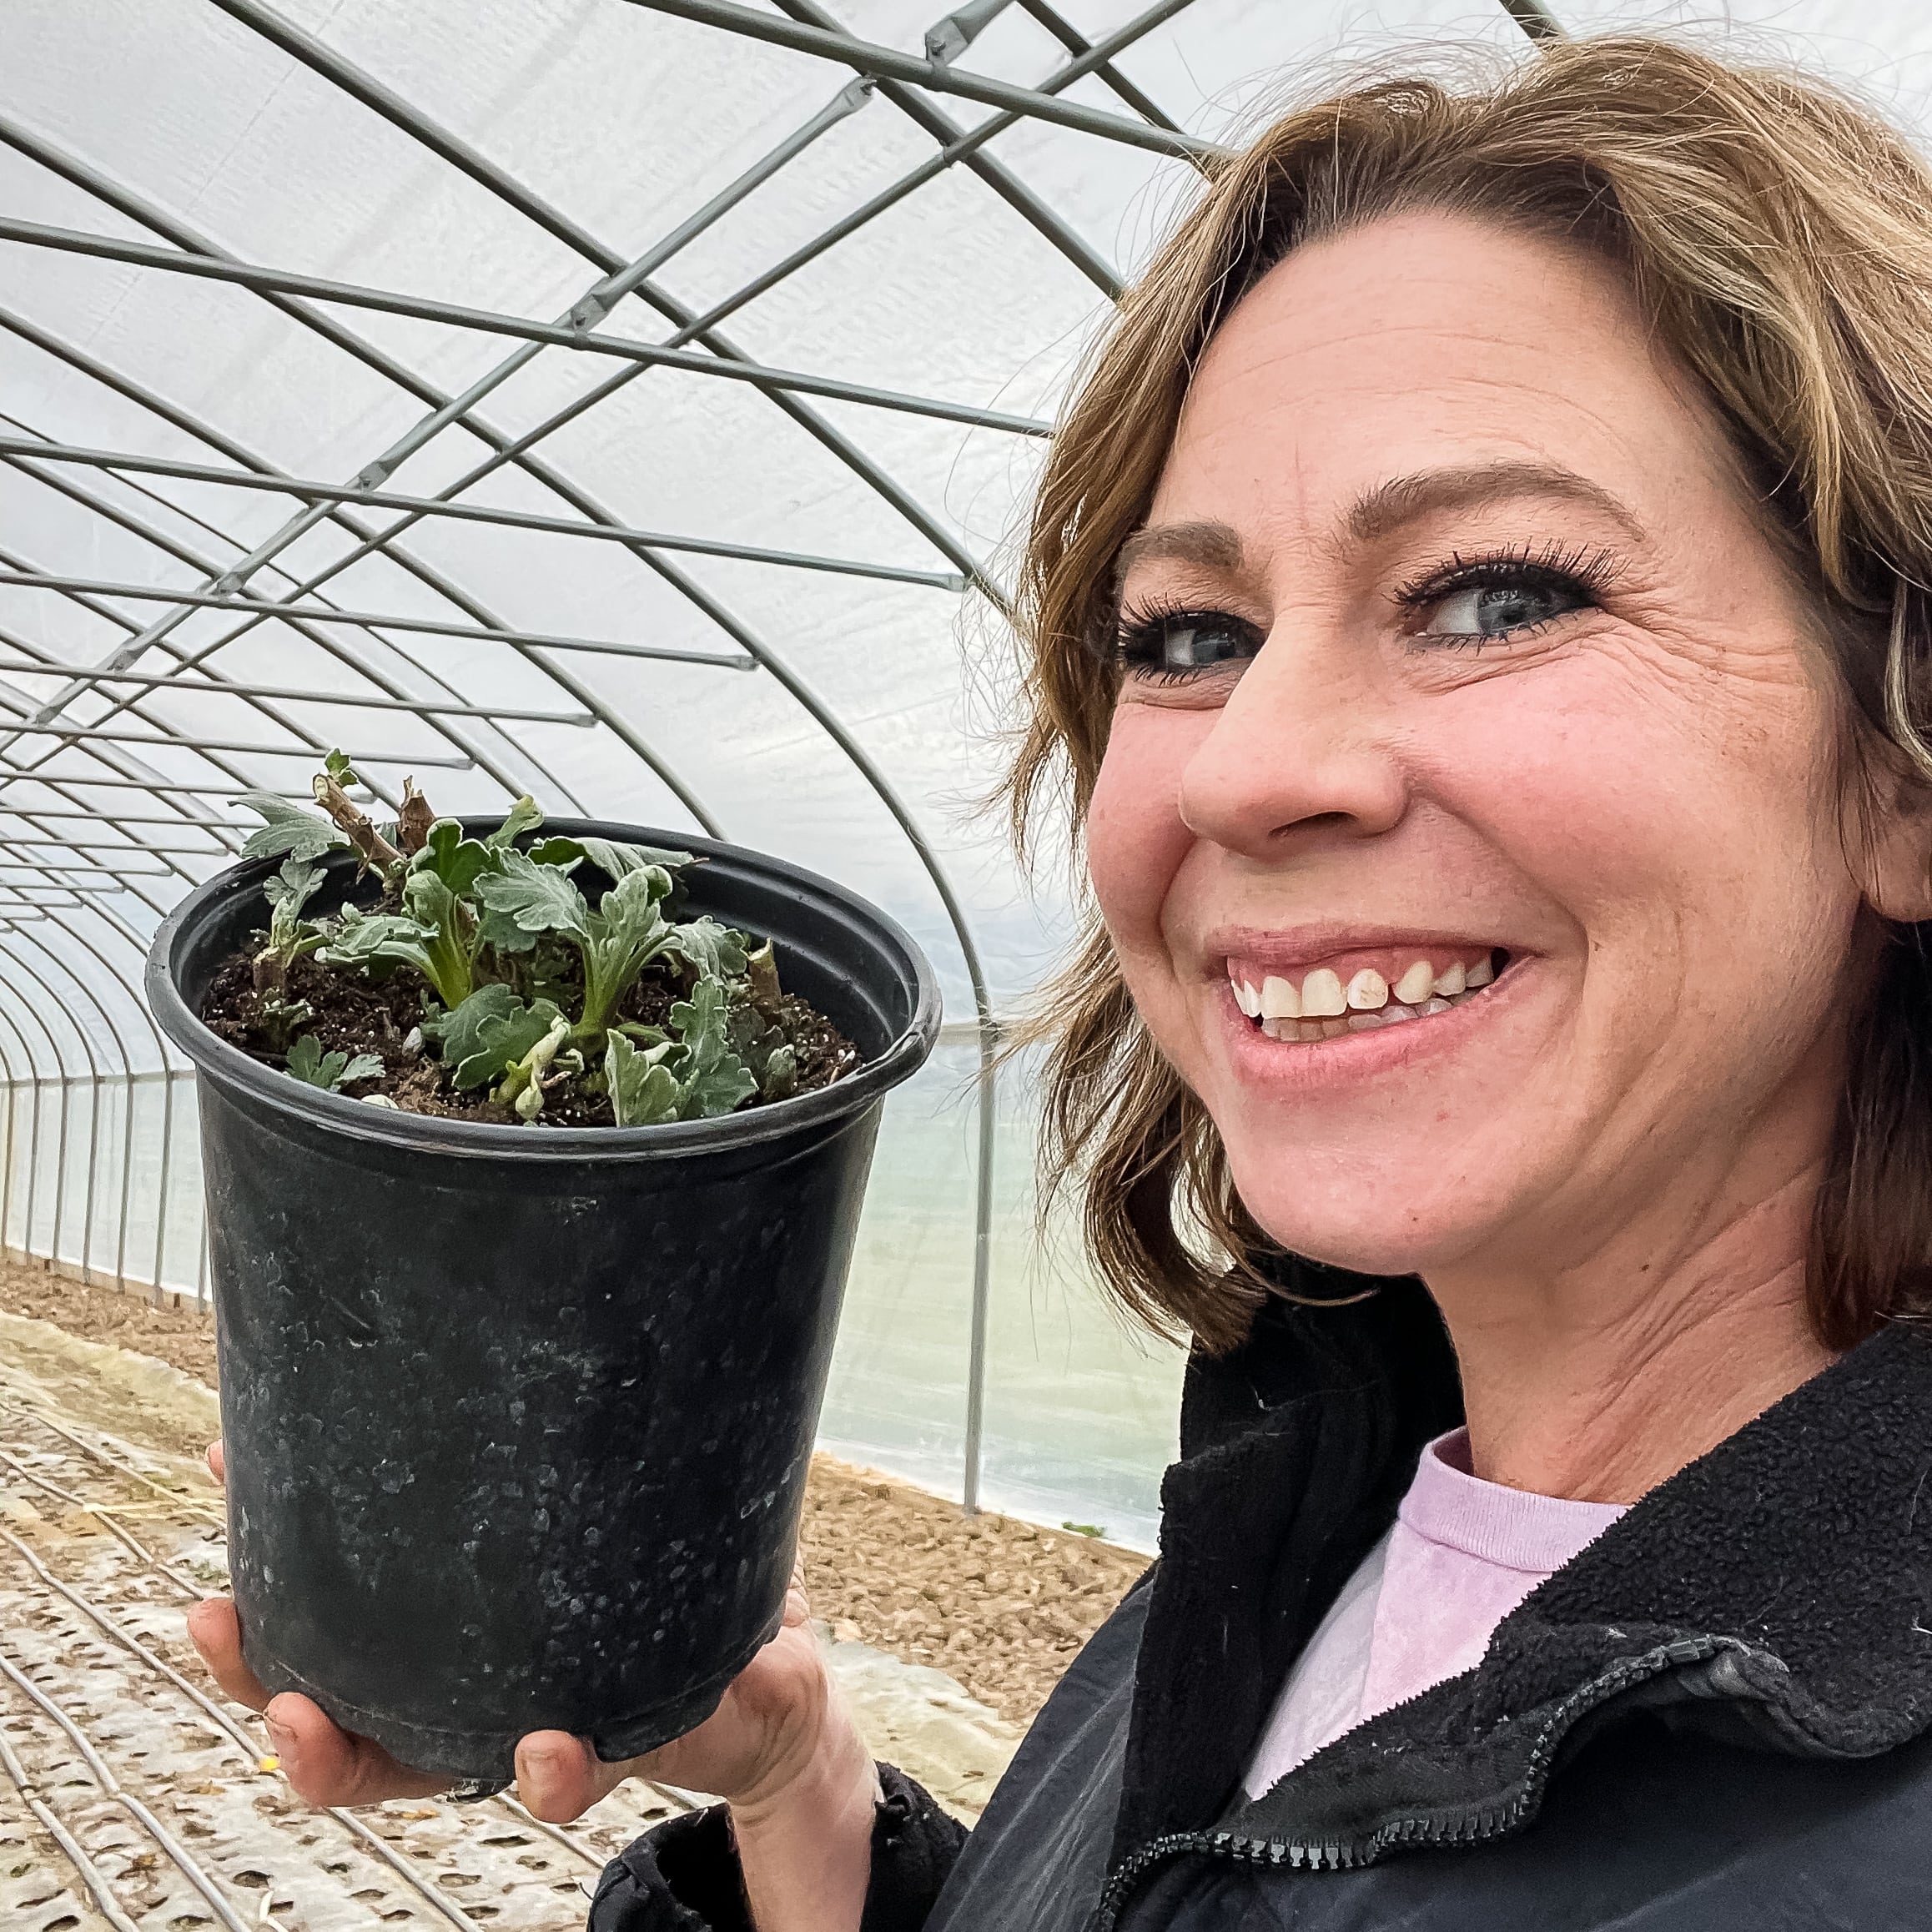
Pot Up and Grow On
After 3-4 weeks, your rooted cuttings can be potted up into larger containers or planted out into your beds. Make sure to harden them off gradually before transplanting outdoors.
Bonus Tips from Harmony Harvest Farm:
🌱 Start more cuttings than you need because not all will root perfectly.
🌱 Label your varieties clearly (trust us on this one!).
🌱 Sanitize your tools between plants to avoid spreading disease.
🌱 Keep an eye on airflow; good ventilation helps prevent fungal issues.
🌱 Start more cuttings than you need because not all will root perfectly.
🌱 Label your varieties clearly (trust us on this one!).
🌱 Sanitize your tools between plants to avoid spreading disease.
🌱 Keep an eye on airflow; good ventilation helps prevent fungal issues.
Why We Love This Method
At Harmony Harvest Farm, we’ve found that this simple propagation method allows us to keep our heirloom mum varieties healthy, vigorous, and plentiful year after year. With just a little attention and patience, you’ll have a thriving collection of chrysanthemums to enjoy for seasons to come!
At Harmony Harvest Farm, we’ve found that this simple propagation method allows us to keep our heirloom mum varieties healthy, vigorous, and plentiful year after year. With just a little attention and patience, you’ll have a thriving collection of chrysanthemums to enjoy for seasons to come!
Save the Date!
We are already planning for next year's mum plug availability, and we're excited to say that the plant launch for 2026 plants will be on September 1st, 2025! Click here to shop when the time comes.